
How To Upgrade Linux Mint 18.2 to 18.3 to 19.x and 20.x
Linux Mint offers an easy and painless upgrade path through the last 3 versions, which means no more reinstalling to stay current with the latest version.
The only catch is that you need the latest of each version, so for 18, you need 18.3 before you can go to 19, and then 19.3 (or latest), until you go to 20. However, it's really a small price to pay and on the machines we've tested, the upgrade went seamlessly each time (although sometimes video drivers/custom kernel modules like Nvidia get messed up and need to be reinstalled).
Notes before getting started:
You may be asked where to install grub to, which should be the same as the current install device. If you have multiple disks you could choose them all if you are not sure (be sure you don't choose a disk that has an existing OS that it boots from though):

Step 1.) Get the latest version of Linux Mint 18 (18.3)
You will need to install timeshift and create a restore point or the installer won't let you proceed.
sudo apt install timeshift
If you want to take the risk of something going wrong and having a messed up OS you can create this file to bypass the timeshift restore point check: /etc/timeshift.json
From the GUI go to your update manager and you should see the option to upgrade to 18.3
From the CLI (if you are an experienced admin), do this:
#backup the original official package repo list

cp /etc/apt/sources.list.d/official-package-repositories.list ~


#edit the package repo list, change sonya to sylvia

sudo vi /etc/apt/sources.list.d/official-package-repositories.list

sudo apt update && sudo apt upgrade
You can now reboot and then update to Mint 19, or if you want to be dangerous you can do it right away without rebooting.
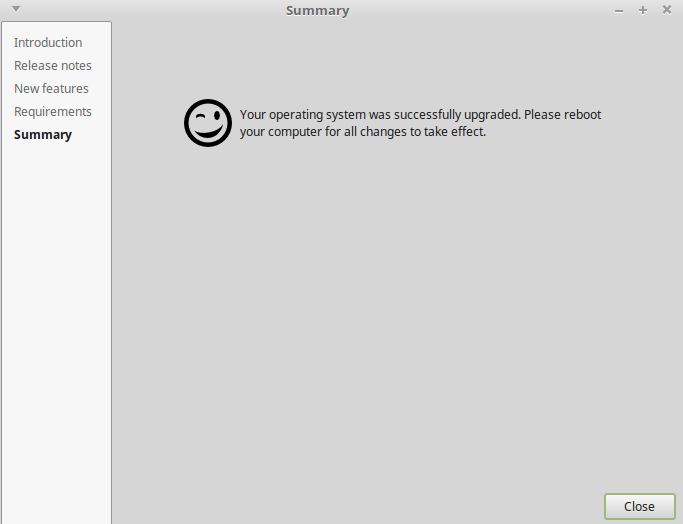
If you using the GUI you should see this after successful upgrade:
Step 2.) Update to Mint 19
Mint 19 upgrade errors if it doesn't go like below:
Now that you have Mint 18.3 you can install the utility called "mintupgrade".
sudo apt install mintupgrade
Run the mintupgrade command:
mintupgrade upgrade
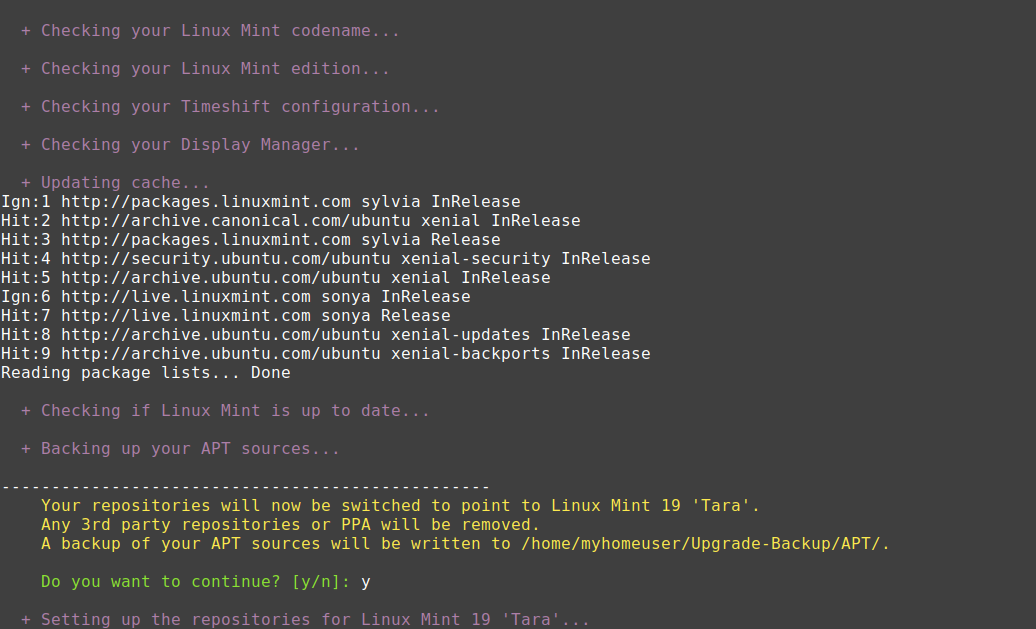
You should see something like this:
Now run this command to get Mint 19:
mintupgrade upgrade
After this is done, reboot and you can then do step 3.
Note you'll be prompted several times for your user password (sudo) and after you are all done you should see this:

Step 3.) Upgrade to Mint 20
mintupgrade upgrade
You should now see that you are being prompted to upgrade to Mint 20. Follow the prompts and you should be good.
Mint 19 Upgrade Errors:
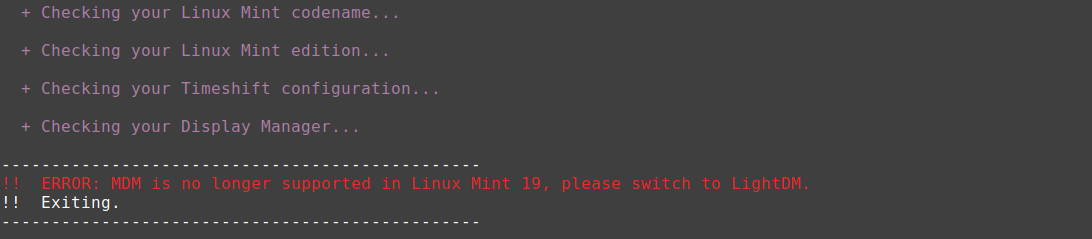
You will need lightdm as your display manager, rather than mdm, otherwise you get this error:
"ERROR: MDM is no longer supported in Linux Mint 19, please switch to LightDM"
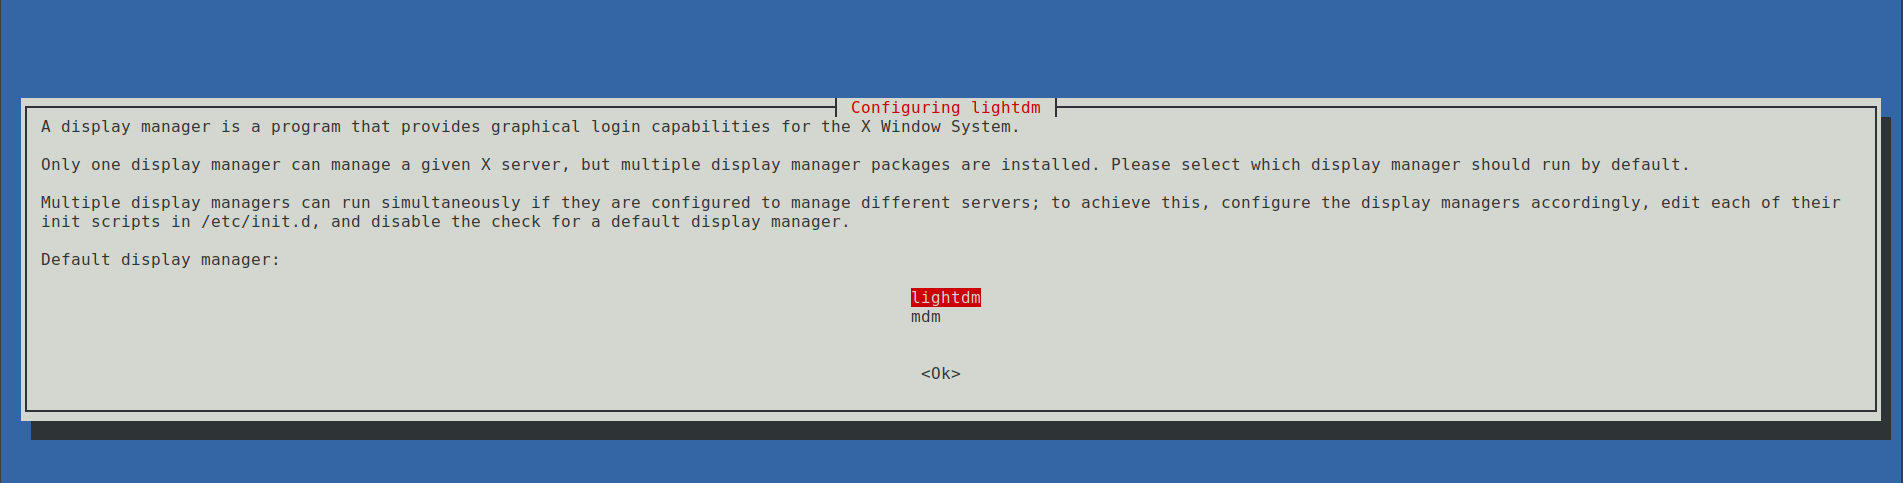
Solve the MDM error by installing lightdm:
sudo apt install lightdm
When installing lightdm, you will be asked to choose the default DM, which must be set as LightDM:
An error occurred
mint-meta-core: dependency problems - leaving unconfigured
mint-meta-mate: dependency problems - leaving unconfigured
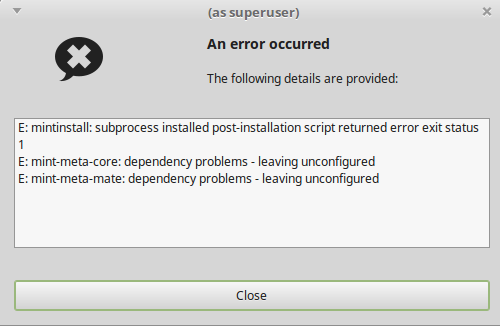
These packages seem to be installed upon a new default install, so it's likely that the error is not something to worry about and has been observed on many successful upgrades (upgrades that were good after reboot)
Mint Upgrade Broken Stuff
Some of the items that do seem to get broken are that Caja bookmarks are all gone, which is a pain if you had a bunch or needed them.
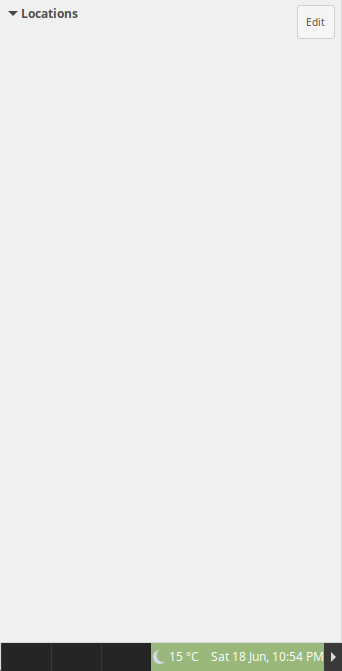
The "Locations"/Different Timezones in the tray don't work and do not display, it almost seems like the theme or template has broken them as they are still shown under "Edit".
To fix the Locations/Calendar issue just remove the clock applet, readd and reconfigure and it will be good again.
Issues Upgrading From Mint 19.3 to Mint 20
    Executing 'check'. This will perform the following:


    1 - Your repositories will be switched to point to Linux Mint 20 'Ulyana' and

        any 3rd party repositories will be removed. A backup of your APT sources

        will be written to /home/areebuser/Upgrade-Backup-tricia/APT.


    2 - The upgrade will be simulated so impacted packages can be evaluated.


    Your sources will be restored to Linux Mint 19.3 'Tricia' at the end of this command.


    Do you want to continue? [y/n]: y


  + Checking your Linux Mint codename...


  + Checking your Linux Mint edition...


  + Checking your Timeshift configuration...


  + Updating cache...


Ign:1 http://packages.linuxmint.com tricia InRelease

Hit:2 http://packages.linuxmint.com tricia Release

Hit:3 http://archive.canonical.com/ubuntu bionic InRelease

Hit:4 http://archive.ubuntu.com/ubuntu bionic InRelease

Hit:5 http://security.ubuntu.com/ubuntu bionic-security InRelease

Hit:7 http://archive.ubuntu.com/ubuntu bionic-updates InRelease

Hit:8 http://archive.ubuntu.com/ubuntu bionic-backports InRelease

Reading package lists... Done


  + Checking your APT repositories...


  + Checking your APT packages...


    - dh-autoreconf: 19~ubuntu18.04.1, should be 17 (from bionic)

    - gir1.2-appindicator3-0.1: 12.10.1+18.04.20200408.1-0ubuntu1, should be 12.10.1+18.04.20180322.1-1mint2 (from tricia)

    - init: 1.56+nmu1~ubuntu18.04.1, should be 1.51 (from bionic)

    - init-system-helpers: 1.56+nmu1~ubuntu18.04.1, should be 1.51 (from bionic)

    - libappindicator0.1-cil: 12.10.1+18.04.20200408.1-0ubuntu1, should be 12.10.1+18.04.20180322.1-1mint2 (from tricia)

    - libappindicator1: 12.10.1+18.04.20200408.1-0ubuntu1, should be 12.10.1+18.04.20180322.1-1mint2 (from tricia)

    - libappindicator3-1: 12.10.1+18.04.20200408.1-0ubuntu1, should be 12.10.1+18.04.20180322.1-1mint2 (from tricia)

    - python-nbxmpp: 0.6.10-1, should be 0.6.4-1 (from bionic)

    - smartmontools: 7.0-0ubuntu1~ubuntu18.04.1, should be 6.5+svn4324-1ubuntu0.1 (from bionic-updates)

    - xdg-desktop-portal-gtk: 1.0.2-flatpak1~xenial, should be 1.0.2-0ubuntu1.1 (from bionic-updates)


------------------------------------------------

!!  ERROR: The packages above have incorrect versions. They can be downgraded using 'Software Sources -> Maintenance -> Downgrade Foreign Packages'.

!!  Exiting.

------------------------------------------------


  + Restoring your backed up APT sources...
Tags:
upgrade, linux, mint, xlinux, offers, painless, versions, reinstalling, ve, seamlessly, drivers, custom, kernel, modules, nvidia, reinstalled, install, timeshift, restore, installer, sudo, apt, os, bypass, etc, json, gui, update, cli, admin, repo, cp, sources, repositories, edit, sonya, sylvia, vi, reboot, rebooting, utility, quot, mintupgrade, prompted, prompts,